
Last updated November 16, 2026
 AC repair
 Furnace & heating
 Heat pumps
 Ductless mini splits
 Carrier
 Trane
 Goodman
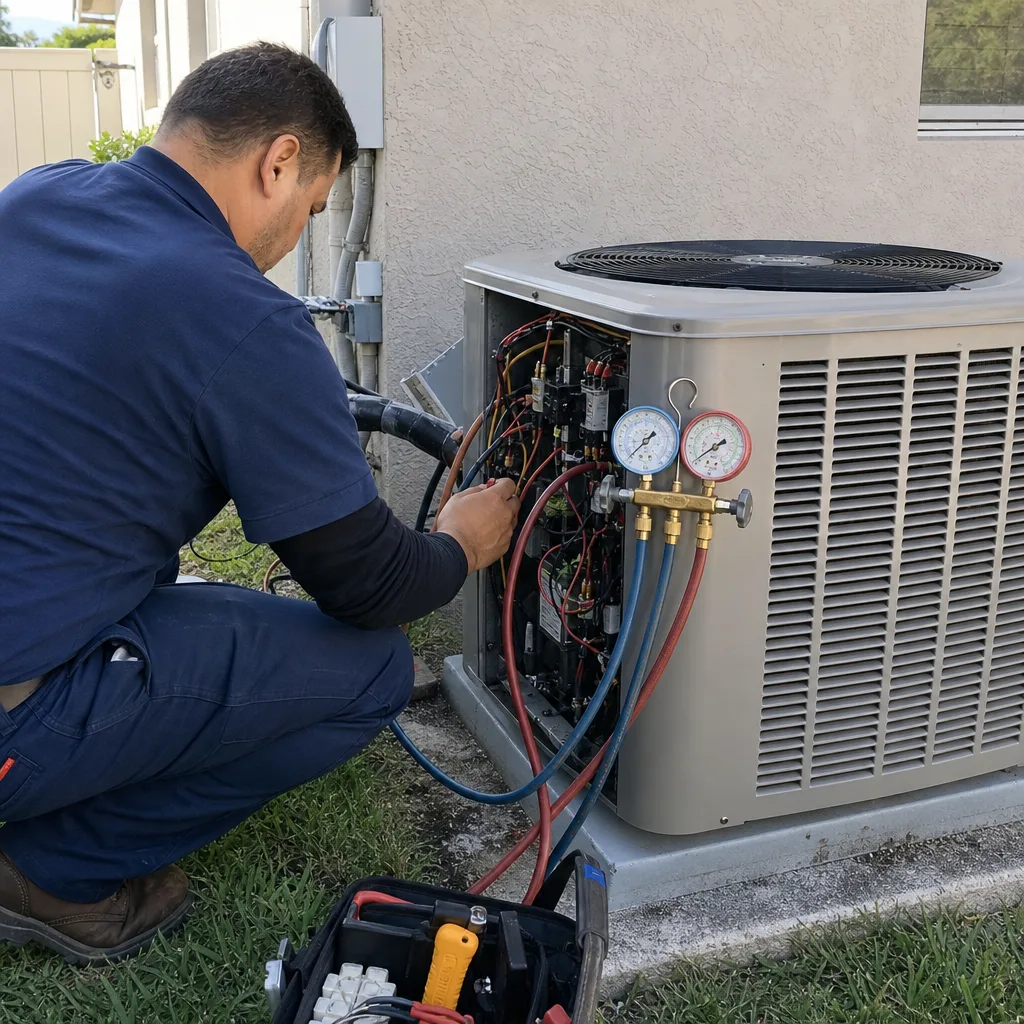
Seasonal tune-up and full diagnostic on your Carrier, Trane, or Goodman system - readings shown to you before any repair is proposed
Diagnosis first, numbers second - you approve the repair price before a single part goes in.
Get your free estimateAC Installation Maintenance Checklist for Miramar Homeowners
The number-one reason a brand-new AC system underperforms in Miramar isn’t a defective unit. It’s a correctly sized unit installed with ductwork that was never modified to match it. Manufacturers print maintenance checklists to protect their warranty claims, not to protect your home from the failure modes this climate actually creates. That’s the gap this guide fills. You’ll get the day-one documentation to collect before the installer leaves, the 30-day inspection items that matter most in South Florida humidity, and a schedule built around Miramar’s real seasonal stress periods rather than a generic spring-and-fall calendar. We’ve written this as the checklist we’d hand a neighbor, not the one stapled to an owner’s manual.
Quick Answer
Collect documentation before the installer leaves: static pressure readings, refrigerant pressures, supply and return air temperatures, duct leakage results, equipment serial numbers, and clear photos of the indoor coil, drain pan, and line-set routing. Then re-check condensate line flow and log refrigerant pressures at the 30-day mark, verify both at each seasonal transition, and do a visual inspection after every named tropical storm or hurricane even if the system appears to be cooling fine. The climate does the damage long before the thermostat ever shows a symptom.
Styles & brands we work with
- AC repair
- Furnace & heating
- Heat pumps
- Ductless mini splits
- Carrier
- Trane
- Goodman
Table of Contents
- Day-One Documentation: What to Collect Before the Installer Leaves
- The 30-Day Post-Installation Inspection
- Why Ductwork Matching Matters More Than the Unit in Miramar
- Quarterly vs. Annual Tasks by Miramar’s Actual Stress Periods
- Coil and Drain Pan Intervals for Near-Constant Runtime
- What to Check After Every Named Storm
- Keeping a Brand-Aware Service Log
- Common Mistakes to Avoid
- When to Call a Professional
- Frequently Asked Questions
Day-One Documentation: What to Collect Before the Installer Leaves
The paperwork you gather on installation day determines whether you can hold anyone accountable six months later. Without baseline numbers, no future technician can tell whether your system was running correctly when it left your driveway or whether something drifted. Ask for the following items in writing, not just a verbal promise. A competent installer will have them on hand already.
- Static pressure readings on both the supply and return sides. These tell you whether the blower is working against excessive resistance, a common problem when a new unit is dropped onto existing ducts.
- Refrigerant pressures and superheat or subcooling readings recorded at startup. These are your baseline against every future check.
- Supply and return air temperature split. A recorded differential gives future technicians a quick reference for performance.
- Duct leakage test results if any ductwork was modified, sealed, or replaced.
- Equipment serial numbers and model numbers for both indoor and outdoor units. Photograph the plates.
- Photos of the indoor coil, drain pan, and float switch immediately after the install. Photographs taken in three months show what changed.
- Line-set routing photos along walls, through the attic, and at the penetration points.
If the installer chases a different brand here than you expected, that’s fine. Units from Goodman, Rheem, or York all ship with nameplate data. What matters is that the numbers are recorded for the equipment you actually received. We connect homeowners with independent professionals who service equipment across nine major manufacturers, and the baseline matters for every one of them.
The 30-Day Post-Installation Inspection
Thirty days is long enough for a new system to reveal installation shortcuts and soon enough to get them addressed. In most of the country, a month is a low-demand shoulder season. In Miramar, the system has already logged hundreds of hours of runtime by then, which makes the 30-day check more valuable here than in a cooler climate. This is the first point where a marginal install shows its hand.
- Condensate line flow verification. Water should run freely from the primary drain. If the pan has collected standing water, or if the line drips irregularly, a clog or a slope problem is present and will worsen.
- Refrigerant pressure log. Compare current readings against the day-one numbers. A slow leak shows up as a trend, not as a single alarming figure.
- Filter condition. A filter loaded after 30 days tells you the return plenum is taking in more debris than expected, which may mean return-side sealing work is needed.
- Temperature split. The supply-to-return differential should hold steady near the day-one value.
- Audible and visual check of the outdoor unit. Unusual vibration, a tilted pad, or debris against the coil are all things a homeowner can spot but a rushed installer may miss.
Walk the drain route yourself. Trace the condensate line from the indoor unit to where it exits. Look for kinks, sagging sections, and any spot where the line passes through a wall without insulation. A sag of half an inch can trap a standing slug of water that eventually grows a clog. If the flow looks weak, call the installer back before the 30-day mark so you’re still within the window where they’ll simply come out and correct it.
Why Ductwork Matching Matters More Than the Unit in Miramar
Almost every new central air unit is sized correctly by tonnage for the home’s square footage and construction. The ductwork that the unit connects to is almost never modified. And that’s where installs fall short. A system can pass a quick startup check and still run with high static pressure, uneven airflow, and rooms that never reach the thermostat setting, because the ducts were designed for a different unit’s airflow characteristics. If your existing ducts are undersized for the new unit, the compressor works harder, the blower runs louder, and the unit runs longer.
This is why we ask for static pressure readings in the day-one documentation. Static pressure above the manufacturer’s maximum on either side of the air handler is the diagnostic that catches this problem. If the installer can’t or won’t provide those numbers, ask them to explain what the readings are and to write them down.
- Register-by-register airflow. Every supply register should deliver moving air within a reasonable margin of its neighbors. Weak rooms on the far end of a long run are the classic sign of a duct system that wasn’t rebalanced.
- Return capacity. A new unit with more tonnage needs more return air. Check that the return register is not undersized.
- Duct location. Ducts routed through an unconditioned attic see temperatures well above outdoor conditions during a Miramar afternoon, and the thermal penalty on an unrebalanced system is real.
- Sealing at each junction. Old ductwork often has leaky joints where it meets the new plenum. Leakage means conditioned air never reaches the room.
The fix is straightforward when caught early: seal the leaks, rebalance the registers, and confirm the static pressure dropped. Left alone, it becomes a compressor problem you’ll pay for later. Whether you’re scheduling a first-time install or a full AC installation, insist on documented airflow from the start.
Quarterly vs. Annual Tasks by Miramar’s Actual Stress Periods
Generic maintenance calendars are timed to spring and fall. Miramar doesn’t work that way. The system faces its heaviest load in the summer, eases back in the mild winter, and then contends with the rainy season and tropical storm activity. A maintenance schedule should follow that curve. What follows is the split between tasks you should do every quarter and tasks that only need doing once a year.
Quarterly tasks
- Change or wash the air filter. Runtime drives filter load, and a system running most of the day fills a filter quickly in warmer months.
- Check the condensate drain pan for standing water and confirm the line drains freely.
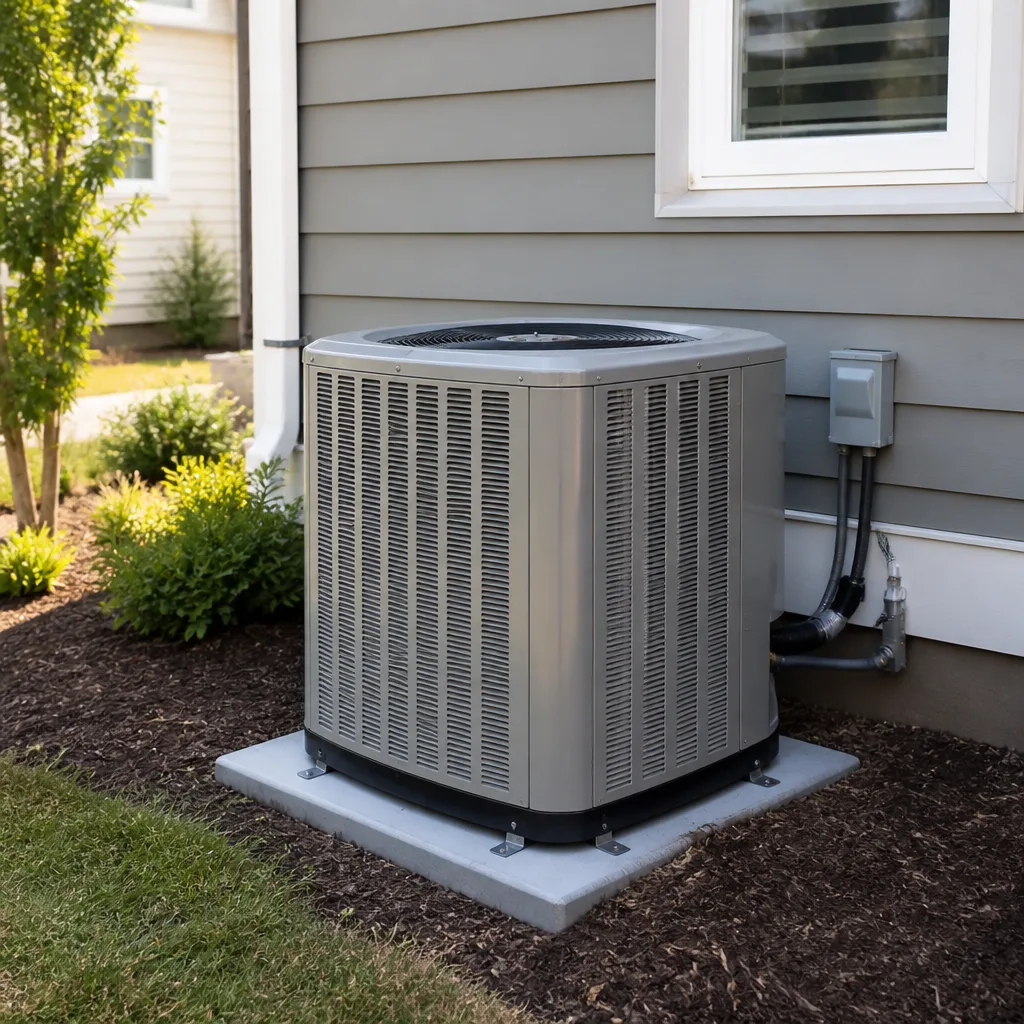
- Clear debris (leaves, grass, palm fronds) from around the outdoor unit. There should be a couple of feet of clearance on all sides.
- Look at the indoor coil for visible dust or biological growth on the air-entering face.
- Record static pressure or ask a technician to confirm it if the system felt strained over the previous three months.
Annual tasks
- Professional refrigerant pressure check that logs superheat or subcooling against the day-one numbers.
- Full coil cleaning on both the indoor evaporator and outdoor condenser.
- Duct inspection for leaks, sagging, and separated joints.
- Electrical connections torque check and capacitor test.
- Float switch test to confirm the safety shutoff still works.
If your equipment is a Daikin or Rheem, the manufacturer’s documentation may specify additional items; your servicing technician should know them. The key point is that a maintenance rhythm keyed to Miramar’s climate will catch problems during the season when they actually form, not during a cooler stretch when the system is running light.
Coil and Drain Pan Intervals for Near-Constant Runtime
National maintenance guidance assumes an AC system runs a few hundred hours a year. In Miramar, many systems run several thousand. That changes the correct inspection interval for the two components that bear the brunt of a long runtime: the evaporator coil and the drain pan beneath it. A yearly inspection is often not frequent enough here.
- Evaporator coil: inspect for dust and biological growth every quarter, clean thoroughly at least once a year, and consider a professional deep clean every 18 to 24 months if the home sees heavy runtime or has pets. Biological growth on a wet coil running nearly continuously is the leading cause of restricted airflow and elevated static pressure.
- Drain pan and primary line: visually check quarterly, flush the line annually, and verify the float switch each quarter. A clogged drain line in a near-constant runtime system produces water damage much faster than it would in a system running a few hours a day.
- Secondary drain or pan: confirm the backup path is clear at each annual service.
We’ve seen homes where a pan overflow only becomes visible as a water stain on a ceiling below the air handler. The interval between a slow clog forming and the stain appearing can be days in a heavy-runtime system. Treat the drain line like a moving part, not an accessory.
What to Check After Every Named Storm
A system can run perfectly after a storm and still have taken damage. That’s the trap. High wind can shift the outdoor pad, bend the fan guard, or drive debris into the coil that the unit can’t reach through normal airflow. A shifted pad throws the compressor slightly out of level; the unit runs, but it runs off-spec. Insurance and warranty conversations go better when you can show what changed and when.
- Photograph the outdoor unit from multiple angles immediately after the storm passes, before anyone touches anything.
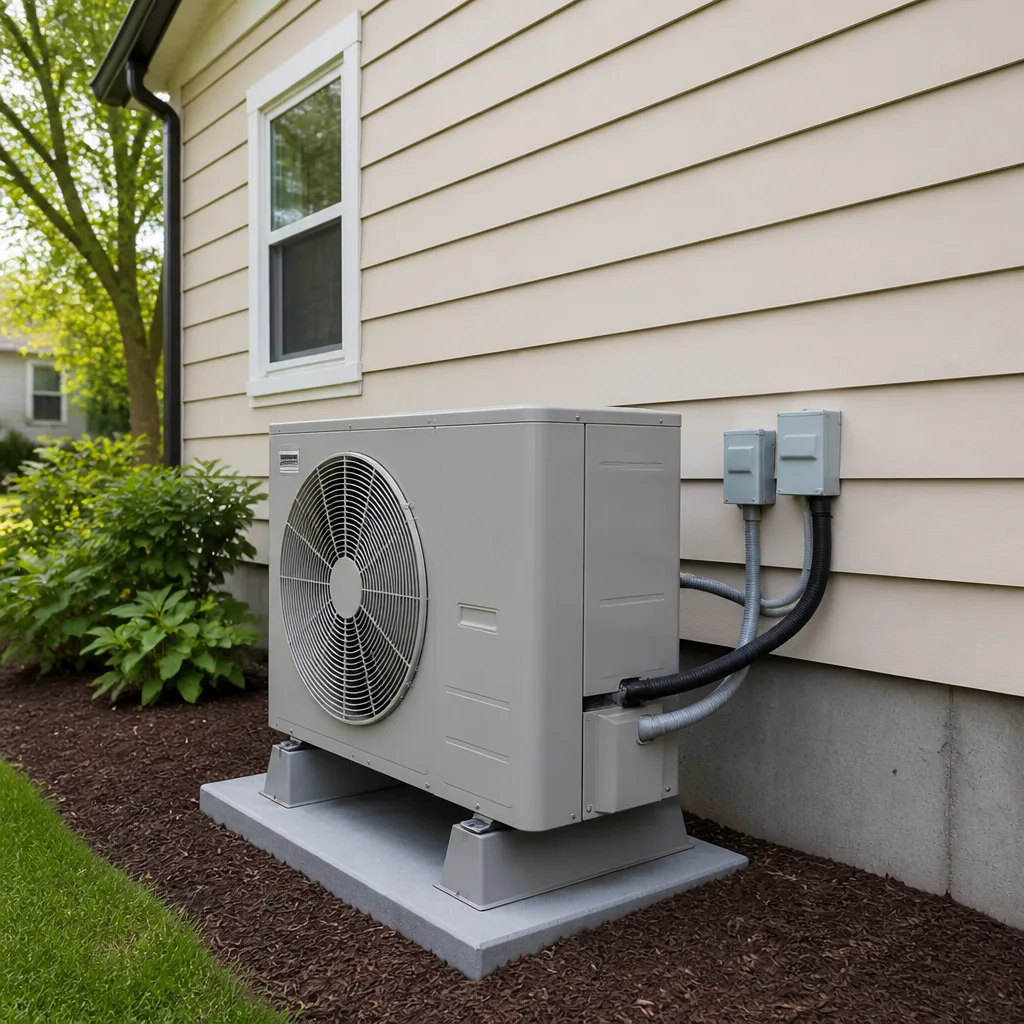
- Check the pad and level. Look for a shifted base, a cracked pad, or a gap between the unit and the pad.
- Clear the coil. Remove leaves and debris pressed against the fins and out of the fan housing.
- Inspect the fan guard and blades for bends or cracks, and turn the fan by hand with power off to feel for resistance.
- Look for water intrusion inside the home at the air handler, near the drain pan, and at any ceiling or wall near duct runs.
- Check the electrical disconnect and any exposed conduit for obvious damage before powering up.
- Log the readings you can capture after restart, and compare them to your day-one and 30-day numbers.
If the system was in the middle of a call for cooling when a storm knocked out power, it restarts by itself when power comes back. What doesn’t reset is the physical state of the equipment. A quick walk-around with photos and a debris check catches the subtle problems before the next hot afternoon does.
Keeping a Brand-Aware Service Log
A written log follows your system, not your contractor. When you call a new company, being able to hand over the model, serial number, install date, day-one readings, and every service entry since will shorten the diagnosis and protect you from a repair guess. It also makes the system easier to sell if the home ever changes hands. We’ve found homeowners who keep logs get more accurate service because technicians are working from data instead of a cold start.
- Header sheet: brand, model, serial numbers, install date, tonnage, and installer contact.
- Per-visit entry: date, technician, work performed, readings taken, parts replaced, filters changed.
- Photo folder: one folder per service event with the coils, drain, outdoor unit, and any new or replaced parts.
- Warranty documentation: a copy of any warranty paperwork in the same folder as the log.
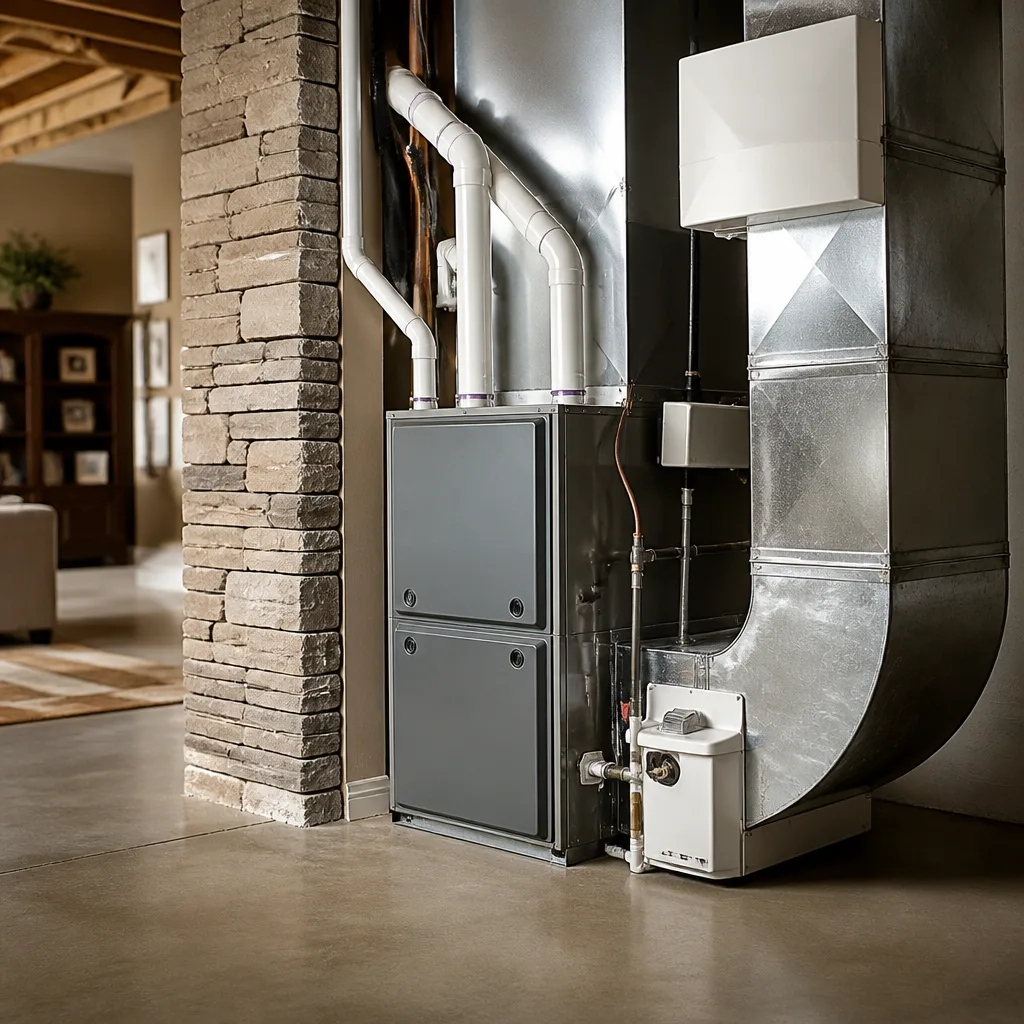
We work across Carrier, Trane, Lennox, Goodman, Rheem, York, Daikin, Bryant, and American Standard, so a homeowner with a log for any of these can hand it to a technician and get a straight assessment on the first visit. If you’re switching from a single-brand dealer to a brand-neutral contractor, the log carries your history with it. When the log shows the system is due for more repairs than it’s worth, you’re also in a better position to weigh a furnace repair or replacement decision against the cooling side of the home.
Common Mistakes to Avoid
- Not requesting static pressure on install day. Without that number, no one can prove later whether the unit was matched to the ducts. Ask for it in writing, even if it feels like in-the-weeds detail.
- Skipping the 30-day check. A system that runs fine for a week can develop a slow drain clog or a refrigerant trend by day 30. The check is cheap; the fix afterward isn’t.
- Treating annual as sufficient in a high-runtime home. Miramar’s near-constant runtime demands more frequent coil and drain inspection than a national calendar assumes. Quarterly is the right interval for visual checks.
- Ignoring the outdoor unit after a storm because it’s still cooling. A shifted pad or bent fan guard can run without an obvious symptom and cause damage over the following weeks. Photograph and inspect every time.
- Changing the filter only when you remember to. Runtime drives filter load, and the filter in a Miramar home loads months faster than a periodic memory will track. Set a reminder tied to the season, not the calendar.
- Hiring a dealer who services only one brand. You end up replacing good equipment or taking a shortcut because the contractor won’t work on what’s installed. A brand-neutral technician assesses the system, not the inventory.
- Not keeping a service log. Without documented readings, every future diagnosis starts from scratch and every repair guess is more expensive.
When to Call a Professional
Some maintenance tasks are safe and useful for a homeowner: filter changes, clearing debris, inspecting the drain pan, photographing after a storm. Others involve refrigerant handling, high-voltage electrical work, and pressurized systems that are genuinely hazardous. Refrigerant lines are pressurized, and the electrical connections at the air handler and outdoor unit can injure or kill. Never open the electrical panel or attempt to add or recover refrigerant yourself. Call a trained, insured technician for anything beyond the homeowner tasks listed above.
Call us when the drain flow looks weak, when the 30-day readings have drifted from baseline, when the outdoor unit shifted after a storm, or when you simply want a documented inspection. Steadfast AC Repair offers free estimates in Miramar – call (855) 627-2574. We answer 24/7. Fast dispatch, 7am-7pm, Sunday through Friday.
Our technicians have up to 12 years of experience across nine major brands, and they diagnose what’s in front of them rather than what a dealer wants to sell. If you’re planning a new system or want a straight assessment of the one you have, Steadfast AC Repair is where that conversation starts. You can also read more about the neighborhoods we serve on our Miramar page.
Frequently Asked Questions
Collect static pressure readings, refrigerant pressures with superheat or subcooling, supply and return air temperatures, duct leakage results if any ducts were changed, equipment model and serial numbers, and photos of the indoor coil, drain pan, and line-set routing. These are your baseline for every future maintenance check and for any warranty conversation. Call (855) 627-2574 for a free estimate and we’ll send a technician who documents the install properly.
Check the condensate line visually every quarter and flush it annually. In Miramar the AC runs nearly year-round, so a slow clog becomes a water-damage problem much faster than in a climate where the system runs only part of the year. Call (855) 627-2574 if flow looks weak or water is pooling in the pan.
New equipment often runs longer because it’s matched to a different capacity and the existing ductwork wasn’t modified to keep up. That’s a ductwork-matching issue, not a defective unit. A static pressure check will confirm it, and the fix is usually duct sealing and rebalancing rather than replacing equipment. Call (855) 627-2574 for a free estimate on a duct evaluation.
Yes. A generic spring-and-fall calendar under-serves a system running most of the year. Build your schedule around quarterly filter and drain checks, annual coil cleaning and refrigerant checks, and post-storm inspections. Call (855) 627-2574 and we can help you build it.
Photograph the outdoor unit, check that the pad is level and in place, clear debris from the coil and fan, inspect the fan guard for bends, look for water intrusion inside near the air handler, and check the electrical disconnect before restarting. Do this even if the system is running normally. Call (855) 627-2574 if anything looks off.
We answer 24/7. A call outside dispatch hours is booked into the next opening, Sunday through Friday, 7am to 7pm. Call (855) 627-2574 and we’ll get you scheduled.
The Bottom Line
A new AC system in Miramar is only as good as the documentation and maintenance rhythm behind it. Collect the day-one readings and photos, do the 30-day check, match the ductwork to the new unit, and follow a quarterly and annual schedule built around the climate you actually live in rather than a manufacturer’s generic calendar. Inspect after every named storm. Keep a brand-aware log. Most of the failures that shorten a system’s life here start as small readings that nobody wrote down. Get the numbers, keep them, compare them.
Written by the team at Steadfast AC Repair.
See the difference
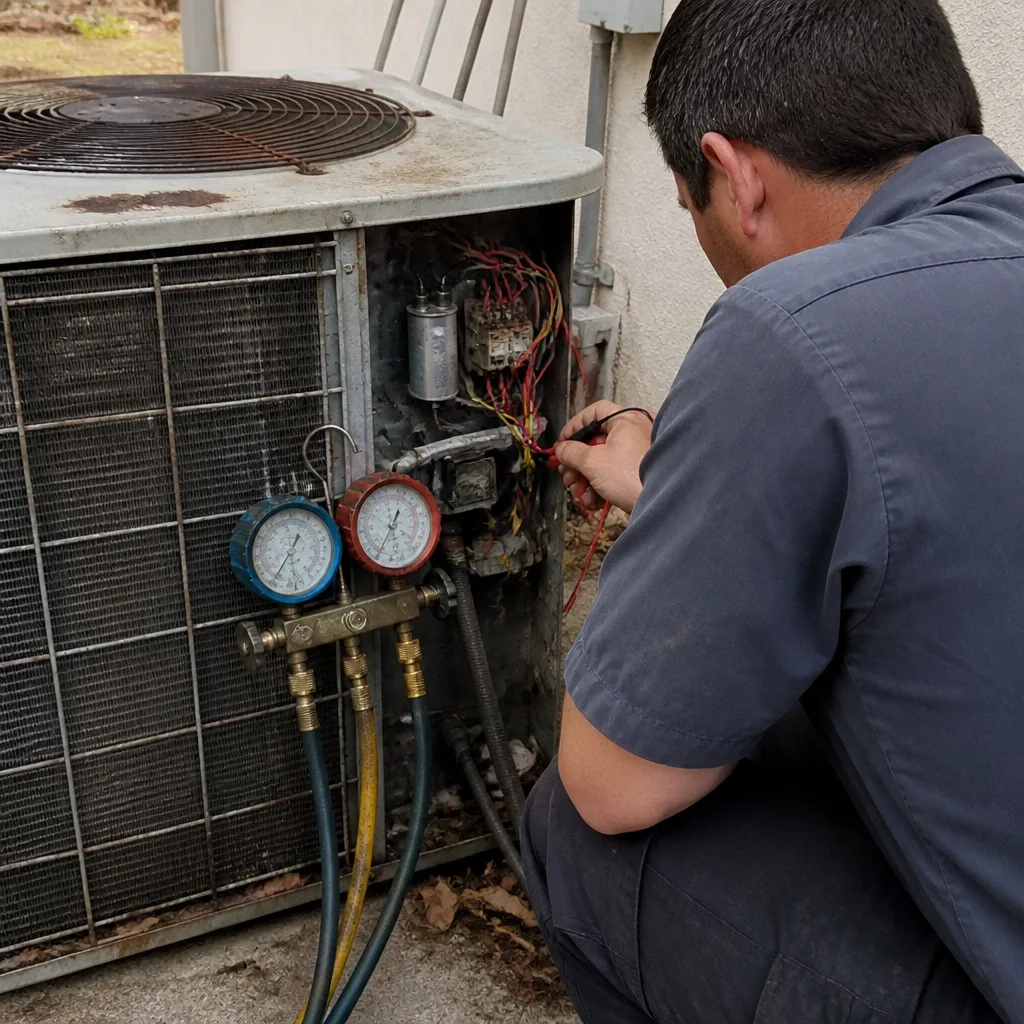 Before
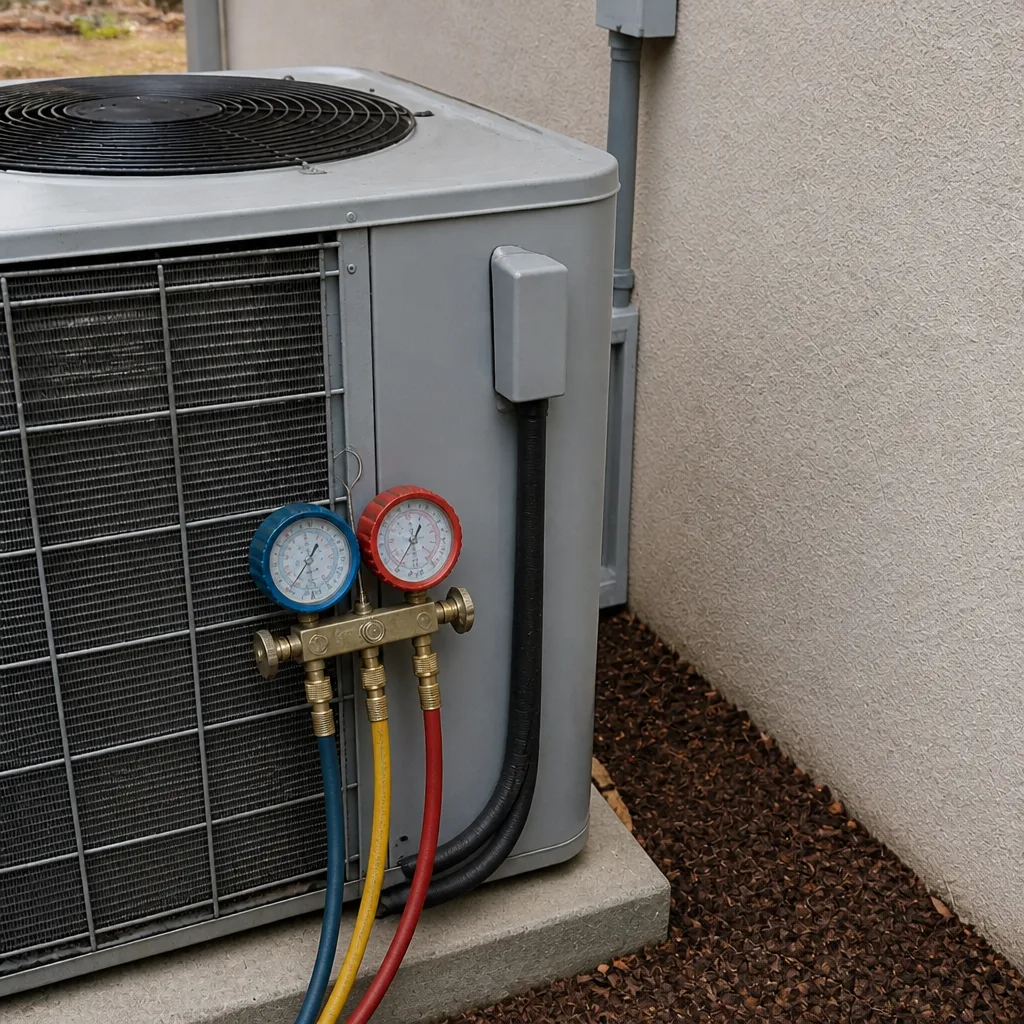 After
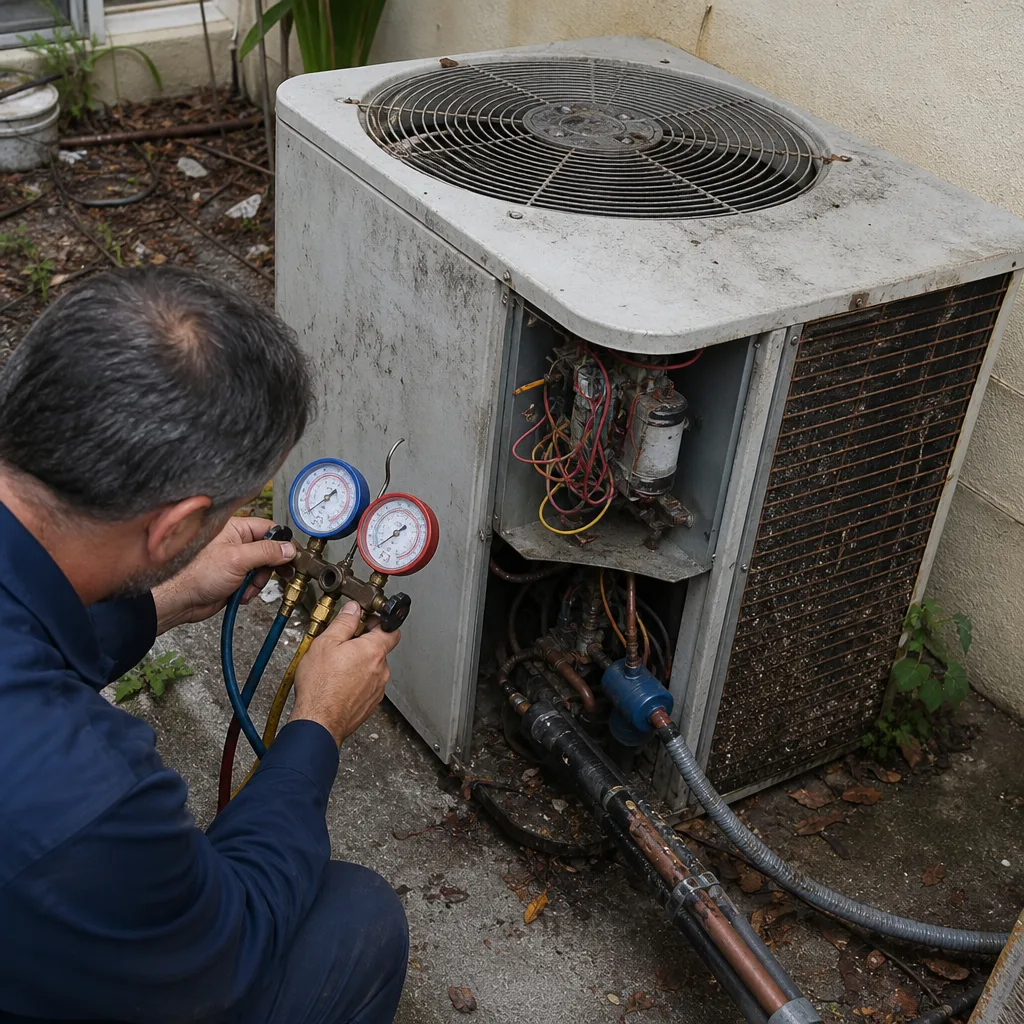 Before
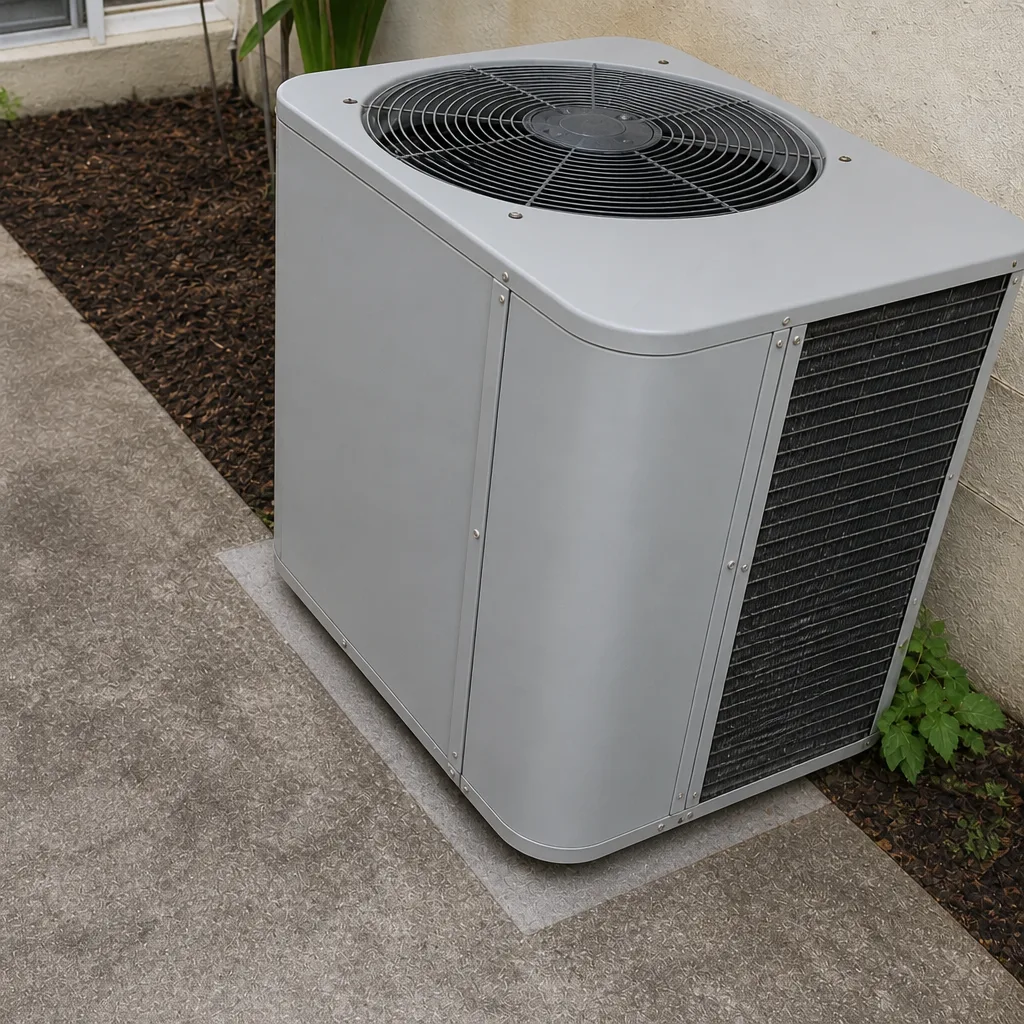 After
 Before
 After